Do you enjoy playing First Person Shooter video games, or are you interested in creating levels (maps) for Counter-Strike? You can use a level editor, such as the Valve Hammer Editor, to create maps or levels for Counter-Strike.
The Valve Hammer Editor (often shortened to “Hammer”) is Valve’s official level editor for games built with their GoldSrc , Source, and Source 2 engines. It’s used to create the game environments, including geometry, textures, and placing entities within the level.
History
Originally named “Worldcraft,” it evolved through various versions for different engines, with versions 3.x for Source and 5.x for Source 2.
Functionality
- Create and manipulate basic game geometry using brushes.
- Apply textures to the geometry.
- Place various entities within the level, including lighting, triggers, and other game elements.
- Configure entity behavior and scripting.
- Build maps with complex systems of logic and gameplay.
Use Cases
Hammer is the standard tool for creating levels in Valve’s games (e.g., Half-Life, Counter-Strike, Portal) and is also used by many modding communities for those games.
Availability
Hammer is typically included within the SDK (Software Development Kit) for the respective engine, allowing developers to create custom content. For Source 2, it’s available as a DLC for Workshop tools.
Requirements for creating maps (levels) for Counter-Strike
- Counter-Strike – download
- Valve Hammer Editor 3.4 – download
- Valve Hammer Editor update – download
- cs_expert-tom793 – download
- zhlt34x86final – download
Step 1
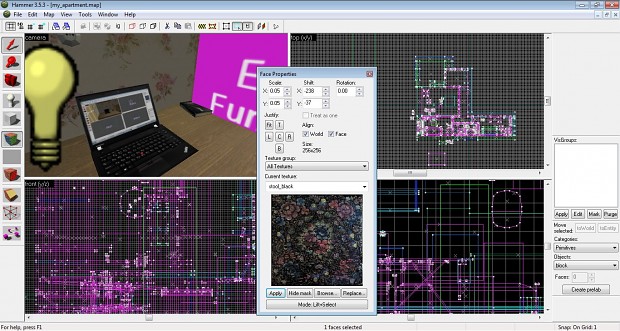
After downloading Counter-Strike (CS 1.6), the next step is to install and set up the Valve Hammer Editor. The video below was made for the non-Steam version of CS 1.6, but it is still valid for use with the Steam version, you will need to locate the following directory:
SteamLibrary\steamapps\common\Half-Life
SteamLibrary\steamapps\common\Half-Life\cstrike
SteamLibrary\steamapps\common\Half-Life\cstrike\maps
SteamLibrary\steamapps\common\Half-Life\valve
Step 2
The video below explains how to create a basic level (map) for Deathmatch mode. Pay close attention to all the steps involved in the level creation process.
Keyboard shortcut keys:
- Control camera – left click mouse (hold) + ASDW
- Pan camera – right click mouse (hold)
- Zooming in and out – mouse scroll
Step 3
After finishing the basic map, the final procedure is to compile the map (.rmf) into a playable level (.bsp).
Congratulations, you have become a level designer! 😉
Alternative download
- If needed, I provide the .RMF file, the result of the map creation using the tutorial – download
- Alternative setup and tutorial – download
My Level Design Experience
I have been creating maps for Counter-Strike since 2002. They are available for download on 17buddies.
Counter-Strike
- aim_awp1 – download
- aim_awp2d – download
- aim_viva – download
- cs_deathmatch_2005 – download
- cs_deathmatch_2005c – download
- cs_dm_2005 – download
- de_clanwar10 – download
- de_clanwar11 – download
- de_rm01 – download
- fy_iceworld_2005c – download
- fy_rack – download
Counter-Strike Source
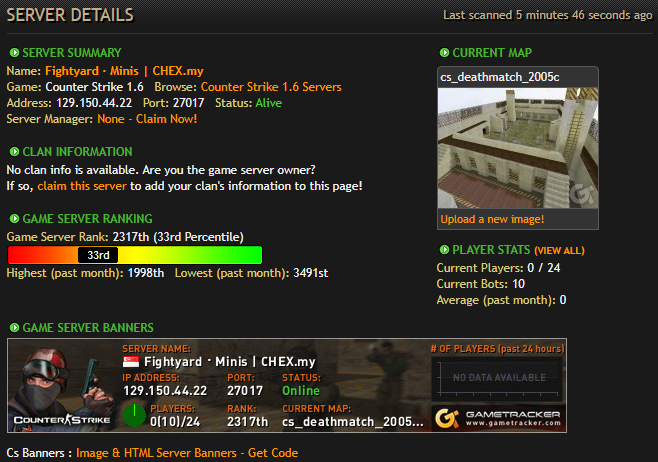
Some of my maps are hosted on a server in Singapore. You can join through the console by entering this address 129.150.44.22:27017